
Named Research Tools
How to Use Readwise Reader for Research: From Saved Articles to Searchable Notes
A practical Readwise Reader workflow for saving research sources, highlighting evidence, reviewing notes, and turning scattered reading into searchable material you can use.

The best way to answer “how to use Readwise Reader” for research is to treat it as a source-to-notes pipeline, not a dumping ground: save a source, verify the import, annotate selectively, add your own context, review by project, then move only the useful material into your writing and citation system.
The hard part is not saving articles. It is preserving enough context that a highlight made on Tuesday still makes sense three weeks later when it becomes evidence in a paragraph, literature review, memo, or dissertation chapter.
Reader can be the reading layer. It should not automatically become your entire research system. Formal citations, verified metadata, citation keys, bibliographies, and manuscript-ready references still belong in a citation workflow when the project requires them.
How to use Readwise Reader for research: the source-to-notes workflow
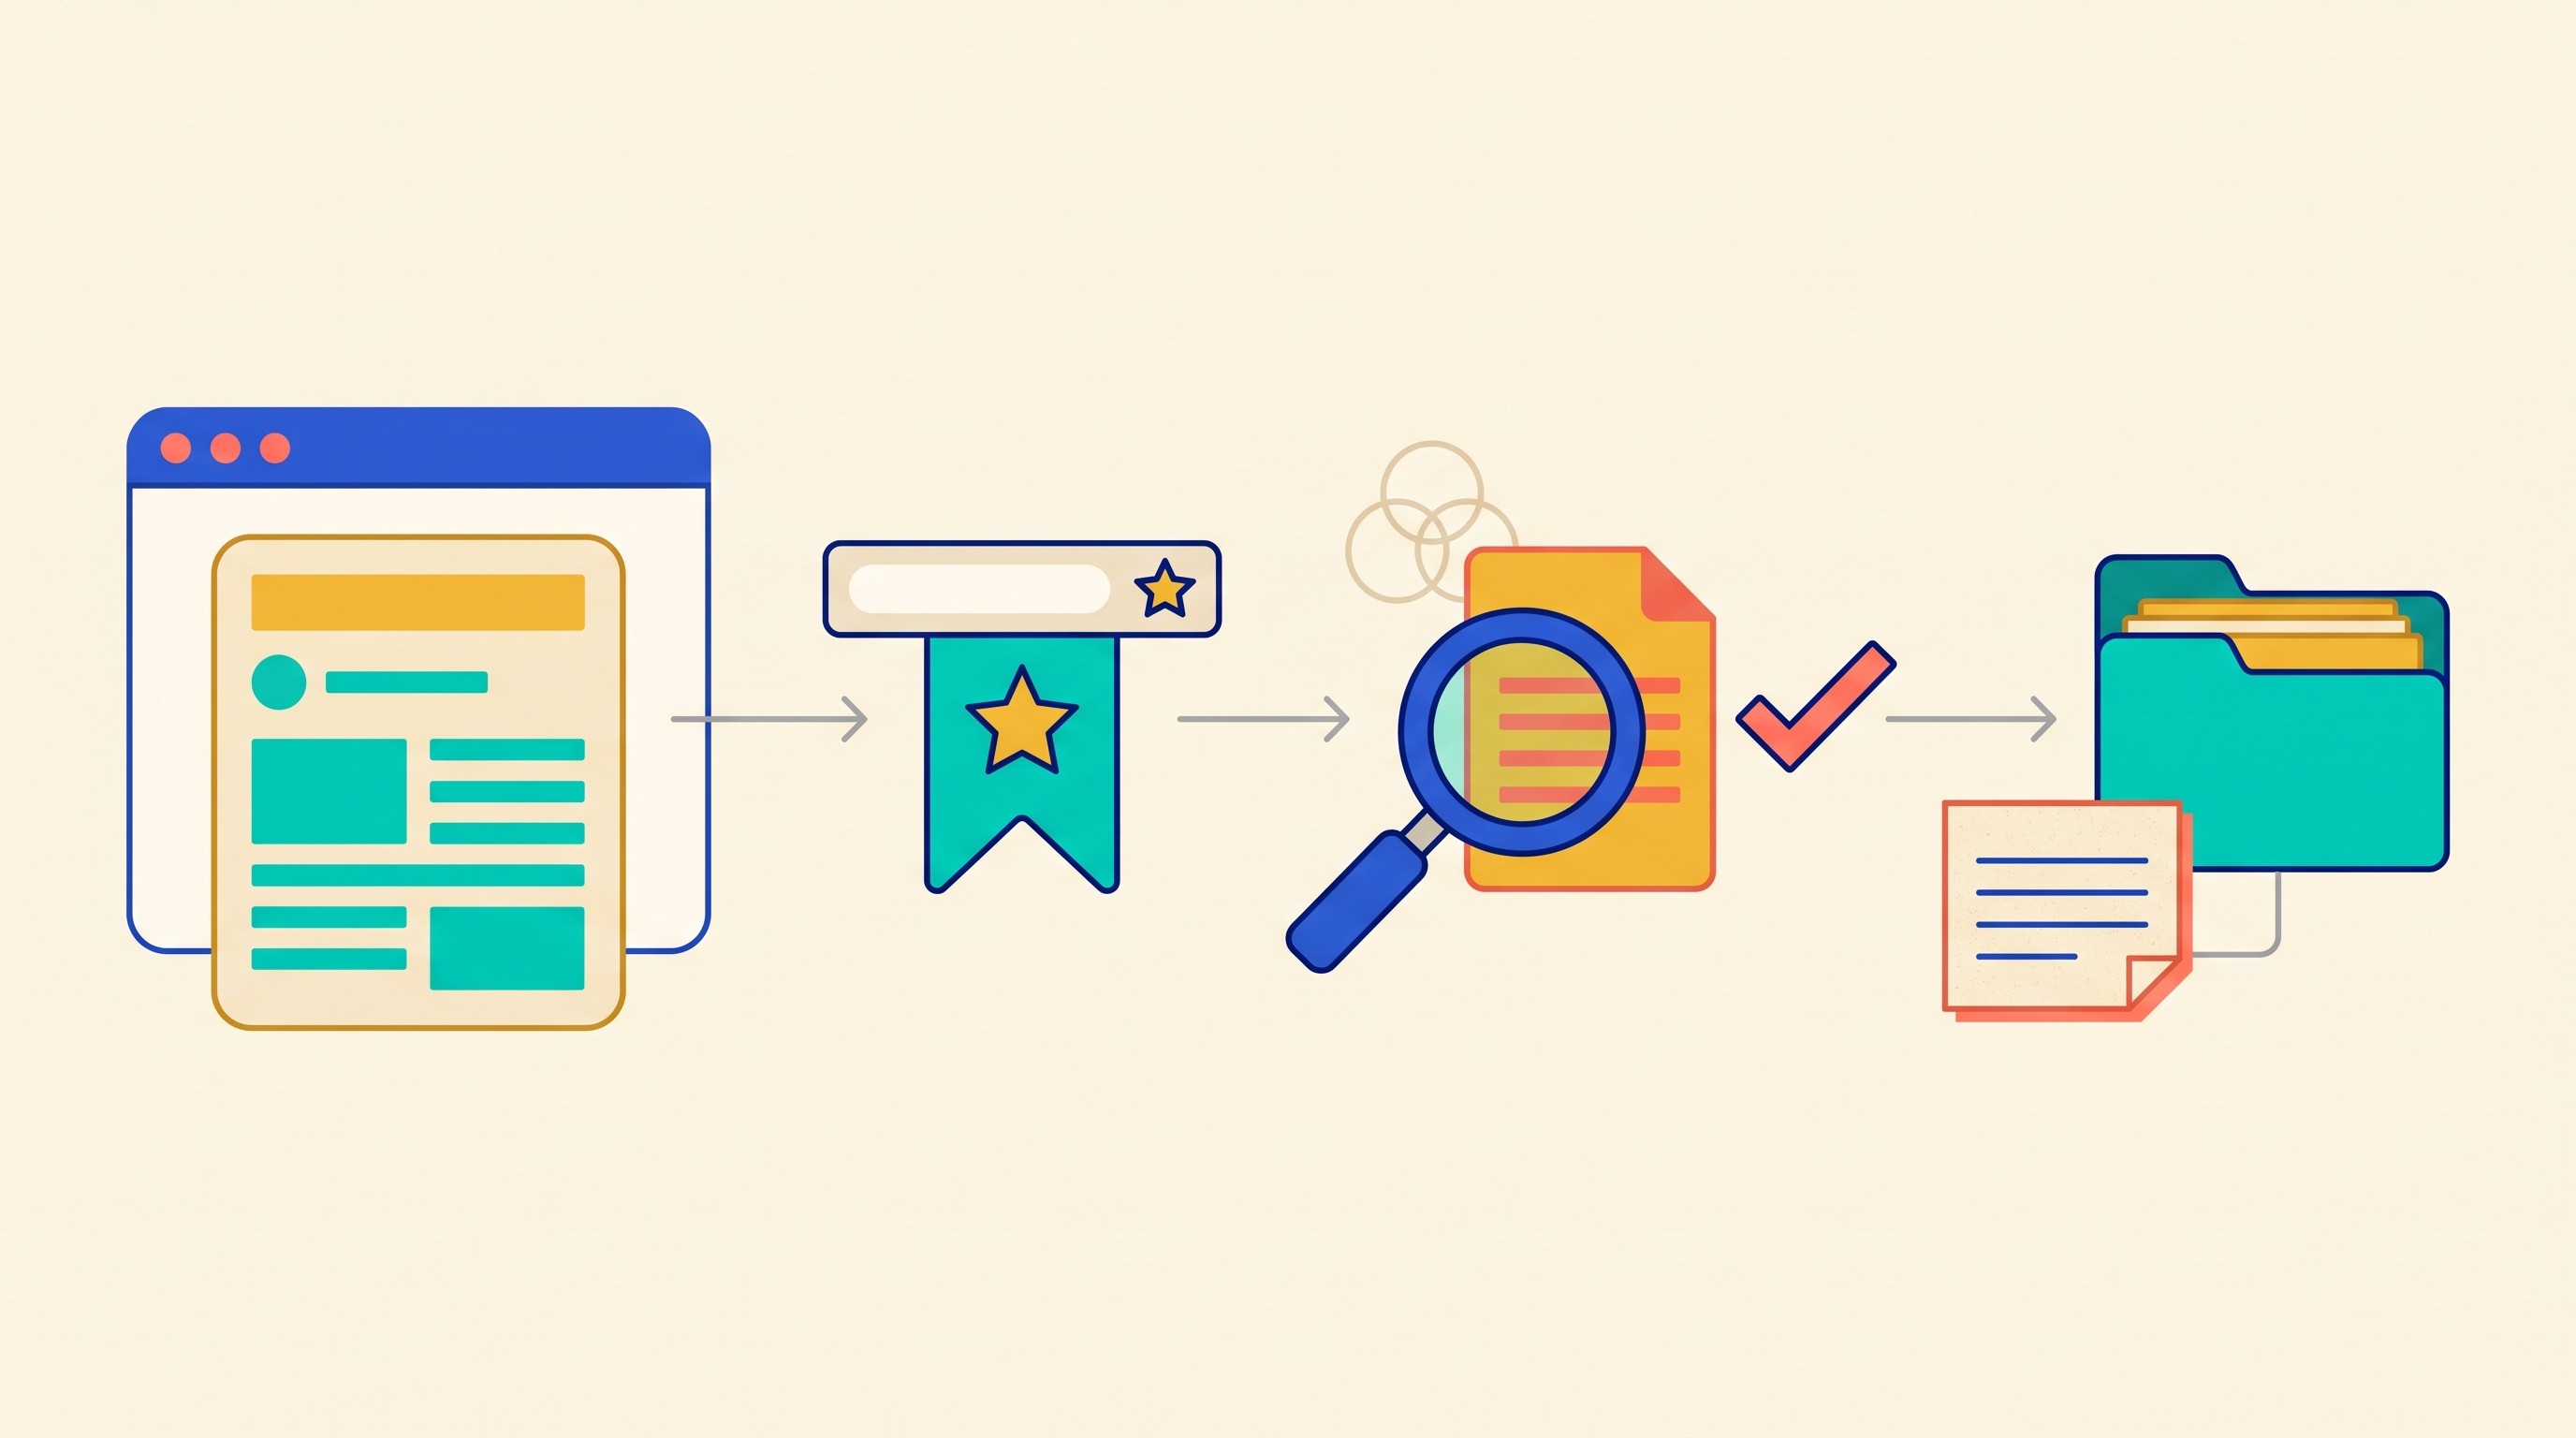
Use Readwise Reader as a pipeline with five stages:
Capture the article, PDF, newsletter, or web page.
Verify that the source imported correctly and still points back to the original.
Annotate claims, definitions, methods, results, disagreements, and limitations.
Comment in your own words so the highlight becomes a research note.
Review and export the useful notes into the system where writing and citations happen.
That last step matters. Reader is useful for collecting and understanding reading material. A citation manager such as Zotero, Mendeley, EndNote, or Paperpile is built for bibliographic control: author names, publication details, DOIs, citation keys, styles, and bibliographies.
Think of the division this way:
Job | Best home |
|---|---|
Saving articles, PDFs, newsletters, and web pages | Readwise Reader |
Highlighting and commenting while reading | Readwise Reader |
Reviewing ideas across saved sources | Readwise Reader or your notes app |
Verified citation metadata and reference lists | Citation manager |
Drafting paragraphs, sections, or papers | Writing app or research workspace |
Long-term connected notes | PKM or note system |
A realistic workflow looks like this:
A researcher is studying remote work and employee retention. They find a web essay, a working paper, and a journal article. Each goes into Reader with the same project label: remote-work-retention.
For each source, they add a short source note:
Question: Does remote work affect retention differently by role seniority?
Likely contribution: May provide evidence on turnover or job satisfaction.
Limitations: Need to check sample, industry, time period, and whether retention is measured directly.
While reading, they highlight only the passages that state the study design, sample, key result, and major caveat. Each important highlight gets a comment in the researcher’s own words: “This supports the claim that flexibility affects retention, but the sample is tech-heavy and may not generalize.”
At review time, they search the project label, group highlights by theme, and move only the strongest evidence into a synthesis note. The final paper still uses Zotero or another citation manager for the bibliography.
For the broader system behind this workflow, see Personal Knowledge Management for Researchers. For larger projects where sources, notes, and citations need stricter separation, use a research paper organizer workflow.
Set up Reader before saving your first research source
The first setup decision is not technical. It is conceptual: decide what Reader is allowed to contain.
For research, Reader should not be a general “interesting things” folder unless that is the project. If the library mixes dissertation evidence, productivity essays, recipes, conference announcements, and half-read newsletters, search results get noisy fast.
Start with a small organization scheme:
Project label: the active research question or paper.
Source status: discovery, read, evidence-ready, rejected, archived.
Analytical role: background, theory, method, evidence, counterargument, limitation.
Source type: journal article, working paper, report, essay, interview, dataset documentation, policy document.
Do not tag every concept in the source. A dense article can contain twenty ideas; tagging all of them creates the illusion of control and the reality of clutter. Tags should help retrieve material later, not describe the whole document.
A useful starting set might look like this:
Tag type | Example | Why it helps |
|---|---|---|
Project |
| Keeps work tied to a live output |
Role |
| Helps find material during drafting |
Status |
| Separates leads from usable sources |
Risk |
| Flags material that needs verification |

The second setup decision is how to distinguish source language from your interpretation. This is where many note systems fail.
Use a consistent convention. For example:
QUOTE:exact language from the source.PARA:your paraphrase of the source’s claim.INTERP:your interpretation or use of the claim.QUESTION:something to verify later.CITE:missing page, DOI, author, or bibliographic detail to check.
The notation can be simpler than this. What matters is that future-you can tell the difference between what the source said and what you inferred from it.
Before importing heavily, check how Reader currently handles the source formats you use most. Web pages, PDFs, newsletters, ebooks, and other reading formats do not always behave the same way. Test one representative item from each format before building a project around it.
Pay attention to:
Whether the full text imports or only a preview.
Whether the original URL is preserved.
Whether PDF page numbers or locations remain usable.
Whether images, tables, footnotes, and captions are captured.
Whether metadata such as title, author, and publication date is correct.
There is also a privacy check. Do not import unpublished manuscripts, confidential client documents, interview transcripts, IRB-sensitive material, or embargoed research into any cloud reading service until you know the access rules and your obligations. For more on that risk, see why researchers should protect unpublished data and ideas from AI models.
The tradeoff is simple: broad collection feels productive; narrow collection improves retrieval. Research libraries become useful when they exclude as well as include.
Save articles and documents without losing their research context
The fastest way to ruin a research library is to save sources without recording why they matter.
A saved article with no note is just a delayed decision. Two weeks later, the title may not be enough to explain whether it supported your argument, contradicted it, or merely looked relevant when you were tired.
Use this capture sequence every time:
Save the original source. Use the URL, file, newsletter, or document as close to the original as possible.
Open the imported version. Confirm that the content is readable and complete enough for your purpose.
Preserve the original link. Do not rely only on extracted text.
Add the project label. Tie the source to a live question or output.
Set the status. Mark it as discovery, to-read, checked, evidence-ready, or rejected.
Write a source note. Record why it was saved.
The source note can be short:
Research question: What question might this source answer?
Likely contribution: Background, definition, data point, method, counterargument, example.
Known limitation: Old data, unclear sample, opinion piece, paywalled, weak metadata, needs citation check.
That takes less than a minute. It saves far more time during review.
If the source was found through Google Scholar, database alerts, citation chasing, or a bibliography, keep that discovery trail when it matters. For source discovery before the Reader stage, use these Google Scholar search tips.
Some sources import poorly. Plan for that instead of pretending the capture layer is perfect.
Common failure cases:
Dynamic pages: interactive content, scripts, or collapsed sections may not import cleanly.
Paywalled pages: Reader may capture only what your access allows.
Scanned PDFs: images of pages may not provide searchable text.
Tables and figures: extracted reading views may flatten or omit structure.
Metadata errors: title, author, date, or publication source may be wrong.
Legal and copyright limits: access to a document does not always mean permission to duplicate it elsewhere.
When an import is weak, keep the original link and add a note: IMPORT ISSUE: table missing or PDF scan needs OCR. If copyright and access rules allow, create a second working copy for annotation, but do not lose the source of record.
For scanned material, run optical character recognition before expecting useful search and annotation. OCR is the process that converts images of text into machine-readable text. For that step, see the best OCR tools for scanned PDFs and research documents.
Separate discovery items from evidence-ready items. A promising article is not evidence yet. It becomes evidence only after the content has been checked, understood, and tied to a claim.
A simple status system prevents premature trust:
Status | Meaning | Use in writing? |
|---|---|---|
Discovery | Looks relevant but unread | No |
To read | Selected for review | No |
Checked | Read enough to understand relevance | Maybe |
Evidence-ready | Verified and contextualized | Yes |
Rejected | Not useful or unreliable for this project | No |
Archived | Not active but worth preserving | Not now |
This is the difference between a reading list and a research base.
Highlight evidence in Reader and turn highlights into searchable notes
Highlighting is not the same as note-taking. A highlight marks a passage. A research note explains why that passage deserves to survive.
The rule is: highlight less, comment more.
Mark the passage that may do work later:
A central claim.
A definition.
A method or sample description.
A result.
A limitation.
A disagreement with another source.
A phrase you may quote exactly.
A useful framing distinction.
Avoid highlighting whole pages. Long highlights are hard to search, hard to review, and hard to reuse. If an entire section seems important, write a comment explaining the section’s role instead of turning it yellow from top to bottom.
For important highlights, add a short comment in your own words:
What it says: the claim, result, or definition.
Why it matters: the role it may play in your project.
Where it fits: background, method, evidence, counterargument, limitation.
What to check: page number, sample, date, citation, competing evidence.
A good note might look like this in structure:
QUOTE:exact sentence or passage if needed.PARA:“The authors argue that hybrid work affects retention partly through perceived autonomy.”CONTEXT:“Survey-based study; need sample and sector before generalizing.”USE:“Could support section on retention mechanisms, not causal proof.”CHECK:“Verify page number and whether turnover is measured or self-reported intention.”
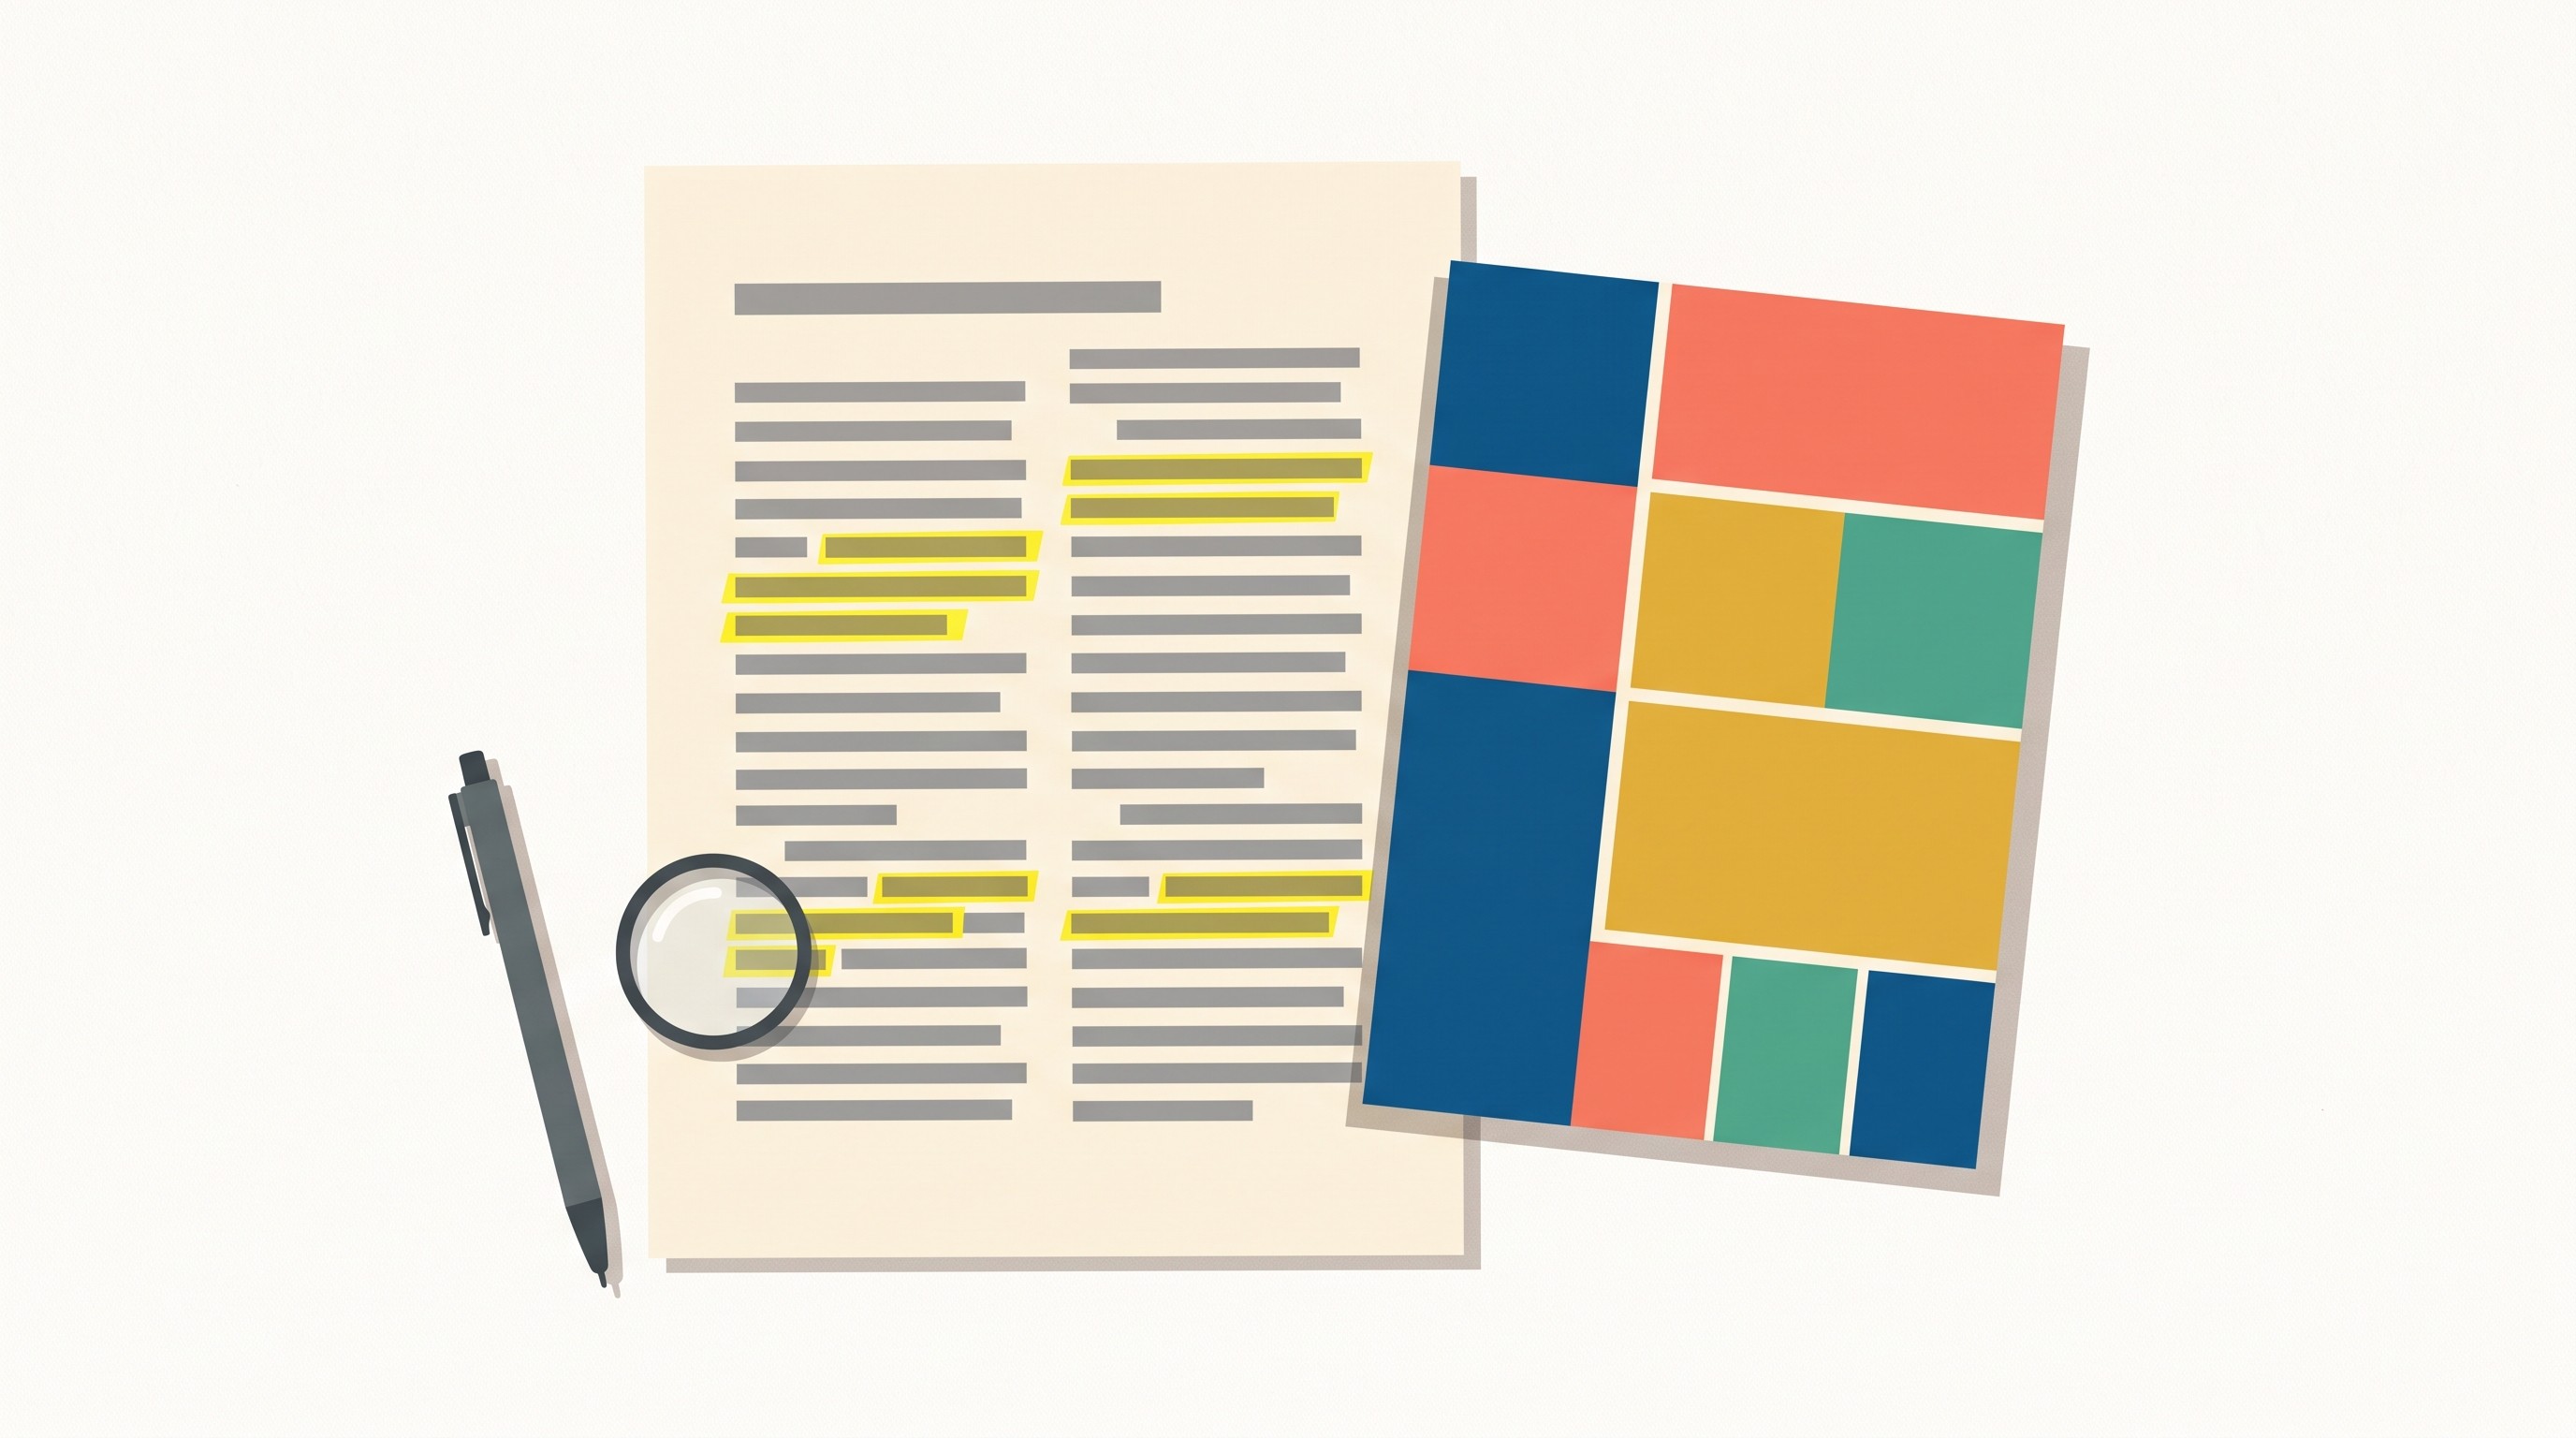
The context is not optional. A searchable highlight can make retrieval easier while still producing weak scholarship if the original claim cannot be reconstructed.
When saving evidence, preserve:
Author or organization.
Title.
Publication venue or source type.
Date.
Page number, section, or location if available.
Whether the passage is a claim, finding, definition, or interpretation.
Any qualification around the passage: sample, scope, uncertainty, method, or caveat.
This protects against one of the most common research-note failures: the orphan quote.
An orphan quote is a sentence that looks useful after being stripped from the paragraph that made it true. It may have been conditional, limited to a subgroup, contradicted later, or presented as a hypothesis rather than a result.
Use notation to keep intellectual roles separate:
Label | Meaning |
|---|---|
| Exact quotation |
| Paraphrase |
| Your interpretation |
| Follow-up question |
| Related source or disagreement |
| Citation detail to verify |
This is especially important when paraphrasing. If a note rewrites the source too loosely, it may become inaccurate; if it tracks the source too closely, it may become patchwriting. For a careful workflow, see how to paraphrase a research paper without losing the original meaning.
Reader works well source-by-source. If your goal is to connect ideas across sources over months or years, you may want a second layer for durable concept notes. The Zettelkasten method is one option, but it only helps when the notes are written in your own words and linked around questions, not just copied highlights.
[[OTIO_INLINE_PROMO:%7B%22title%22%3A%22Need%20to%20connect%20highlights%20across%20sources%3F%22%2C%22description%22%3A%22Bring%20PDFs%2C%20web%20links%2C%20and%20notes%20into%20one%20library%2C%20then%20ask%20Otio%20questions%20across%20them%20when%20a%20single%20highlight%20is%20not%20enough.%22%7D]]
Review saved highlights so reading becomes usable research
Most researchers do not need more saved material. They need a review routine that turns saved material into decisions.
Review should start with the project question, not the inbox.
A practical weekly review looks like this:
Open the active project label.
Filter to recent highlights or checked sources.
Look for notes that answer the research question.
Group them by claim, method, disagreement, or evidence gap.
Promote only the useful notes into a synthesis note or outline.
Archive, revise, or reject the rest.
Do not review everything equally. A highlight from a source that no longer serves the project should not compete for attention with evidence for the next section you need to write.
Useful review groupings include:
Claim: What assertion does this support?
Theme: Which part of the literature does it belong to?
Method: How was the evidence produced?
Population: Who or what was studied?
Disagreement: Which source does this complicate?
Evidence gap: What remains unproven?
Definition: Which term does this clarify?
Limitation: Why should the claim be used carefully?
Keep source identity visible while synthesizing. Synthesis is not a pile of anonymous ideas. It is a comparison of claims made by identifiable sources under specific conditions.
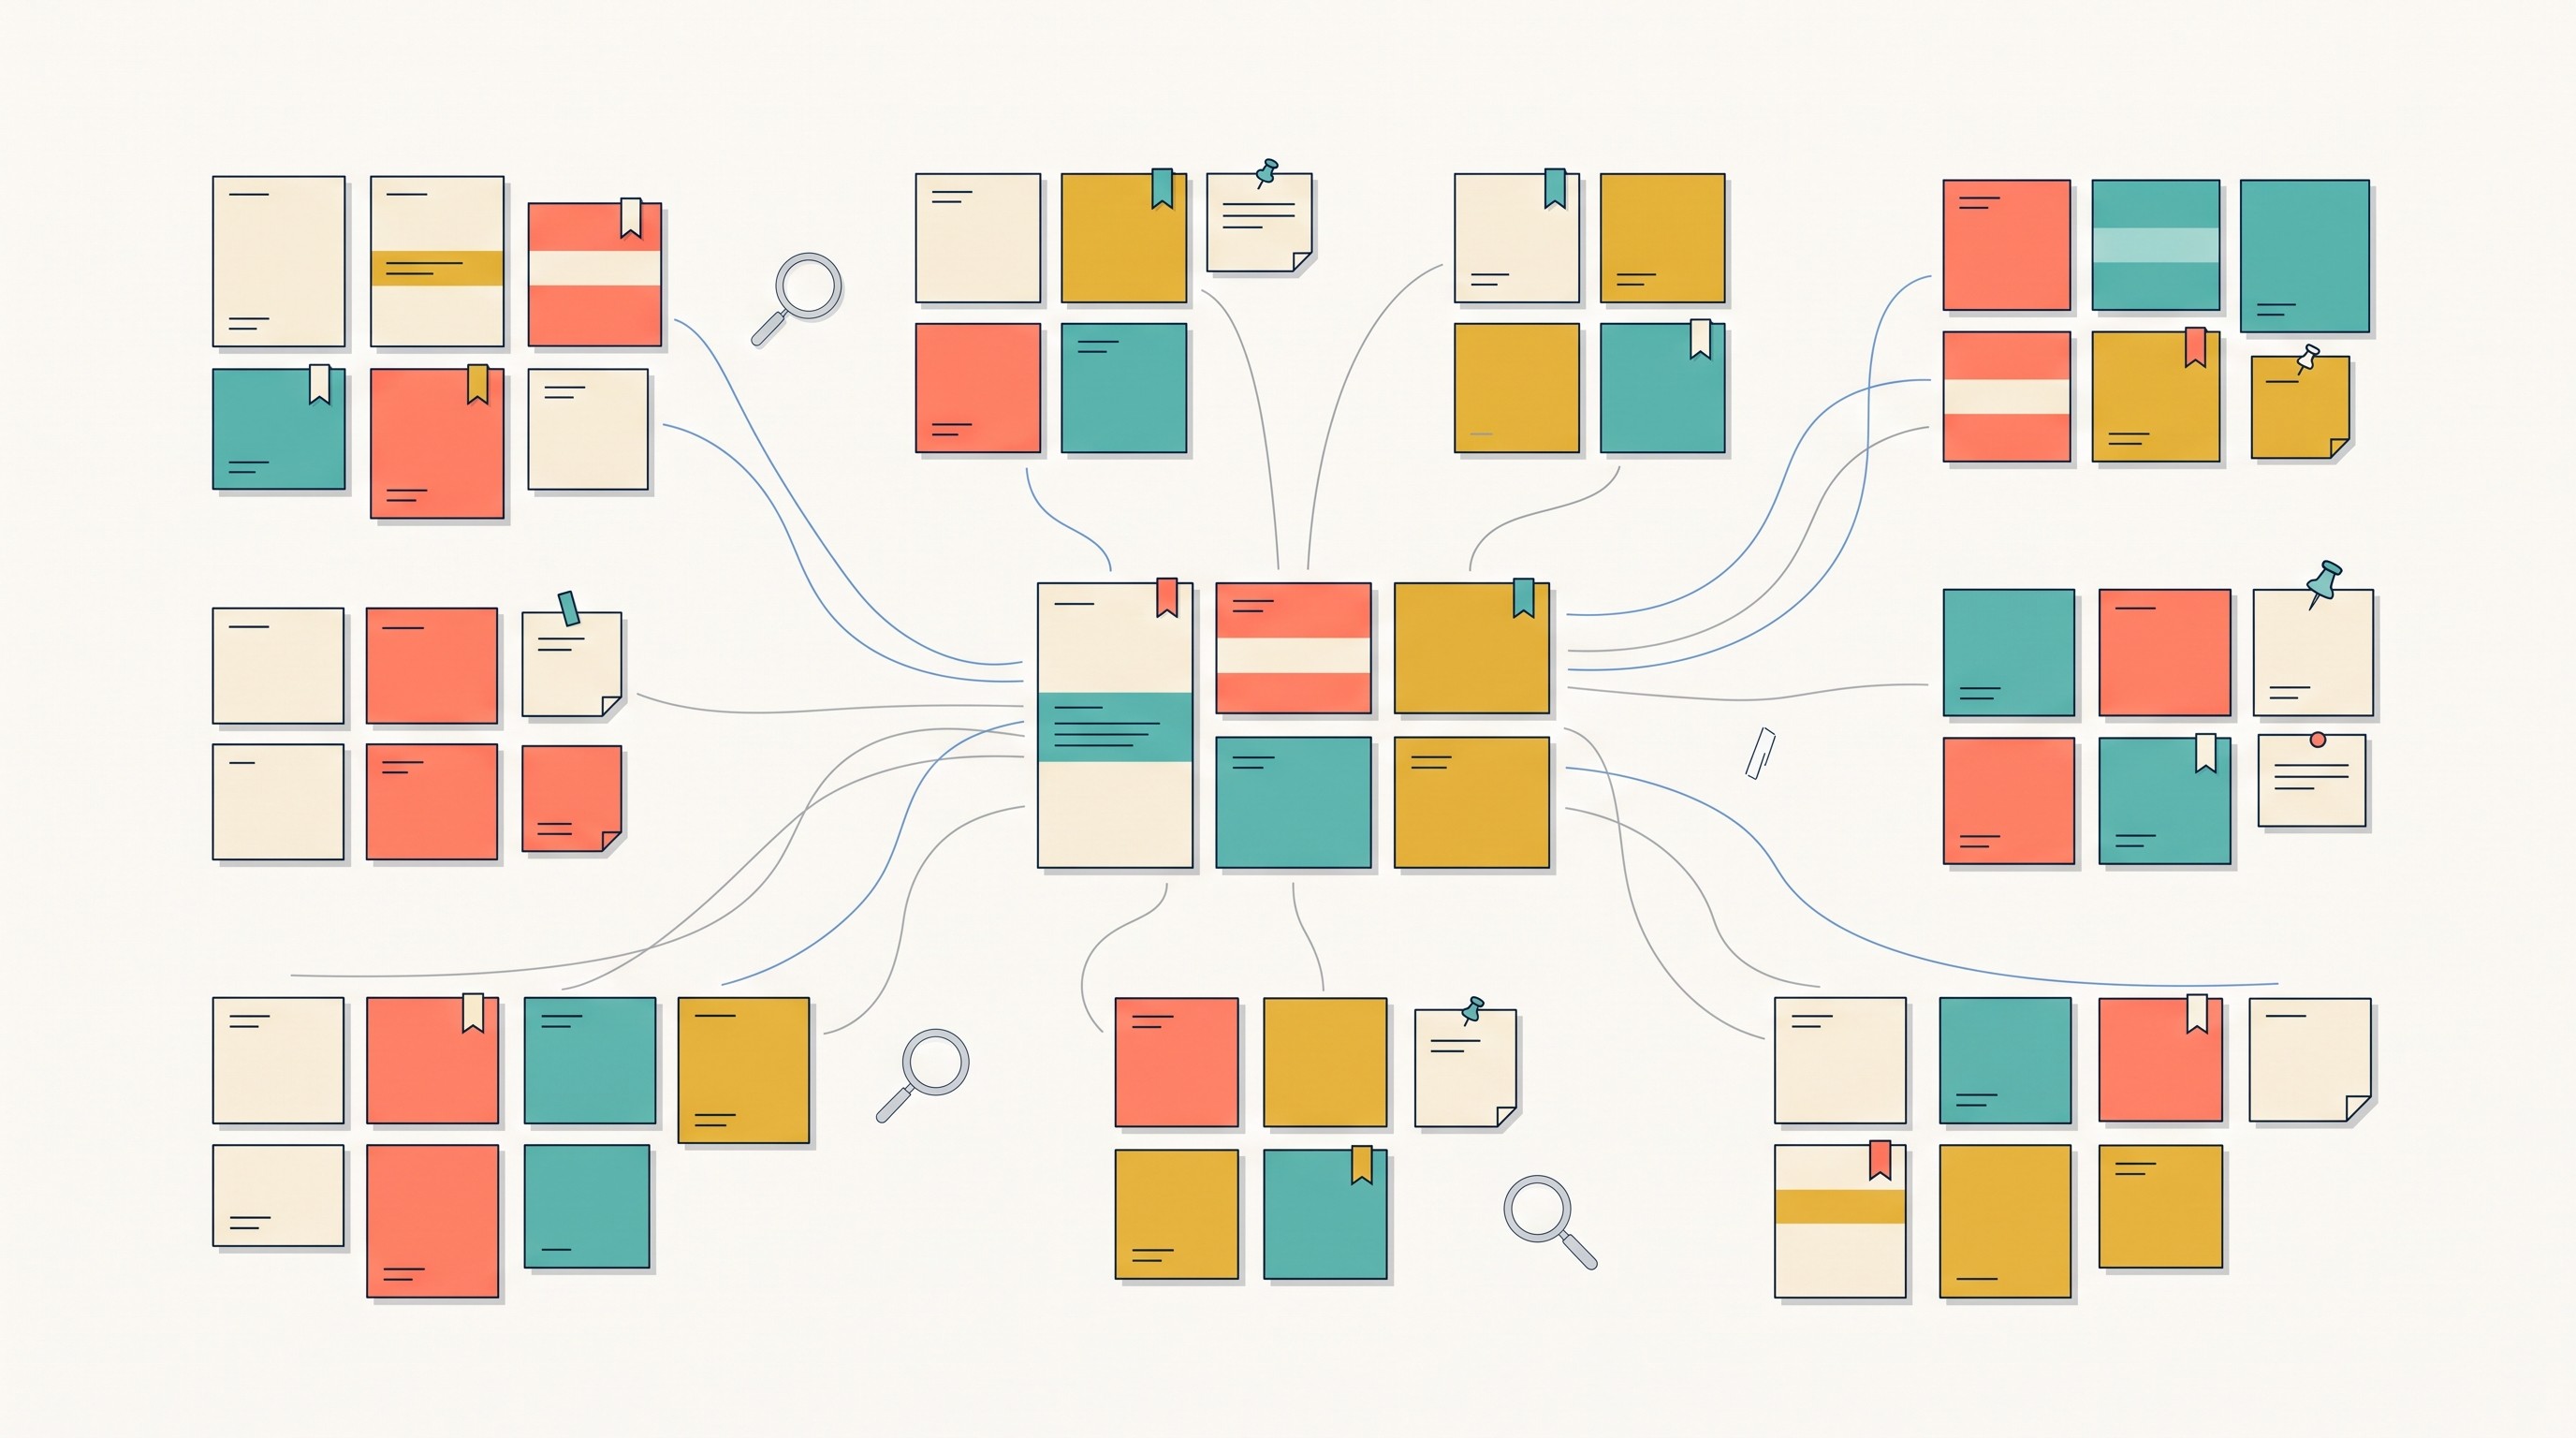
Search is where Reader becomes valuable, but only if your notes contain distinctive language. Generic tags like important, research, and article do little. Phrases such as self-reported turnover intention, sample limited to nurses, or definition of autonomy are far more retrievable.
Search in layers:
Start with a distinctive concept or phrase.
Narrow by project label.
Filter by source type or status if your setup supports it.
Search within a specific source when the project-level results are too broad.
Open the original source before using a passage in writing.
Adopt a decision rule for every reviewed note:
Decision | Use when | Action |
|---|---|---|
Keep | It supports a live research question | Move into synthesis or outline |
Revise | The meaning is unclear | Add context, source details, or interpretation |
Verify | It may be useful but citation/source details are weak | Check original source |
Archive | It is not relevant now but may matter later | Remove from active review |
Reject | It is irrelevant, unreliable, or duplicative | Mark clearly so it stops resurfacing |
Long-term projects need extra care. A note that was useful under an old research question can become misleading under a new one. If your question changes, update tags and interpretations instead of simply accumulating more highlights.
For example, a note saved for “remote work and productivity” may not be valid evidence for “remote work and retention.” The same source may still matter, but the analytical role has changed.
Review is where that change gets recorded.
Move from Reader notes to writing, citations, and synthesis
Do not move every highlight into your draft. Move a small evidence set.
A useful handoff into writing has four steps:
Select evidence: choose the few highlights that answer the current section question.
Write a synthesis note: explain the pattern in your own words.
Attach source details: keep title, author, date, page/location, and citation needs visible.
Draft from synthesis: use the note to write a paragraph, not the raw highlight pile.
The synthesis note is the bridge between reading and writing. It should say what the sources collectively show, where they disagree, and how strong the evidence is.
For example:
“Three sources link flexibility to retention, but only one measures actual turnover. The others measure satisfaction or intention to stay. This supports a cautious claim about perceived retention benefits, not a causal claim about reduced turnover.”
That kind of note can become a literature review paragraph. A folder of highlights cannot.
Reader should not be treated as the sole citation system unless you have verified that its current export and metadata options meet the project’s requirements. For formal academic work, check:
Author names.
Article title.
Journal, publisher, or source.
Publication date.
DOI or stable URL.
Page range.
PDF page versus article page.
Citation style requirements.
Whether the quotation needs an exact page number.
A citation manager remains the safer system of record for formal references. Reader can help with comprehension and retrieval; Zotero, Mendeley, or another reference manager can manage bibliographies and citation keys.
Here are three common handoff patterns:
Workflow | Best for | How it works | Main risk |
|---|---|---|---|
Reader + citation manager | Academic papers, theses, journal submissions | Read and annotate in Reader; verify metadata and cite through Zotero, Mendeley, EndNote, or Paperpile | Notes and citations drift apart if source IDs are inconsistent |
Reader + writing editor | Essays, memos, newsletters, reports | Review highlights; write synthesis notes; draft in Google Docs, Word, Scrivener, Notion, or another editor | Draft may contain claims that lack citation-ready details |
Reader + connected notes system | Long-term research, books, recurring topics | Convert strong highlights into durable notes linked by concepts and questions | Collecting links can replace actual synthesis |
If the next stage requires one searchable workspace across PDFs, web links, notes, and chats, Otio is a different workflow choice rather than a Readwise Reader feature. Its library can store PDFs, web links, notes, folders, and other file types, and its reader includes PDF viewing, highlights, summaries, and text-selection actions. For readers who mostly need AI help on PDFs, the relevant capability is an AI PDF reader; for web sources, a webpage summarizer may fit better.
Use that kind of workspace when the problem is cross-document synthesis or asking questions across a library. Use Reader when the problem is disciplined reading, highlighting, and review.
The most useful next action is small: choose one active research question, import three sources, create one consistent highlight-and-comment format, and complete one review before expanding the library.
A research system proves itself at review time, not capture time.
FAQ
Q: Is Readwise Reader good for academic research?
A: It can be useful for collecting, annotating, reviewing, and retrieving reading material. For formal academic work, pair it with a citation workflow that verifies bibliographic details and preserves the source information required by your style guide.
Q: How should I organize research notes in Readwise Reader?
A: Use a small project-based structure and distinguish source highlights from your own interpretations, questions, and paraphrases. Tags should help retrieve material by project or analytical role rather than describe every detail.
Q: Can Readwise Reader replace Zotero or another reference manager?
A: Not automatically. Reader may cover much of the reading and annotation workflow, but a reference manager is still valuable for verified metadata, citation keys, bibliographies, and manuscript-ready references.
Q: How many highlights should I make from a research article?
A: There is no useful universal number. Highlight only passages that answer a live research question, establish evidence, define a concept, describe a method, or expose a limitation, and add enough context to understand each highlight later.
[[OTIO_FOOTER_PROMO:%7B%22title%22%3A%22Apply%20this%20workflow%20to%20your%20own%20sources%22%2C%22description%22%3A%22Add%20three%20sources%20from%20your%20current%20project%2C%20preserve%20their%20context%2C%20and%20use%20Otio%20to%20compare%20evidence%20before%20drafting.%22%7D]]